Create a free Doodle in 5 steps
Create a free Doodle poll to easily and quickly schedule group appointments. Follow our guide and schedule a meeting in just 5 simple steps.
Schedule meetings with Doodle group polls
There are different types of “Doodles” you can create, for example to collect sign-ups or bookings, but the most commonly used Doodle is the group poll. A Doodle group poll lets you ask participants for their availability so you can find the best time for a meeting. It’s useful for meetings and other group activities with family, friends, colleagues, or clients. Below, we explain in 5 simple steps how to create a Doodle to schedule an appointment.
How do you create a Doodle for an appointment?
Creating a Doodle for an appointment is simple and can be done in five clear steps:
Choose Doodle type
To start, open the Doodle website at doodle.com. At the top right of the page, you’ll see a button that says “Create a Doodle”.
Clicking this button opens a new page where you can choose from four different types of Doodles:
- Group Poll: To find the best date and time for a group appointment.
- Sign-up Sheet: To collect sign-ups for workshops and activities.
- 1:1: To schedule one-on-one meetings at proposed times.
- Booking Page: To let clients book appointments directly in your calendar.
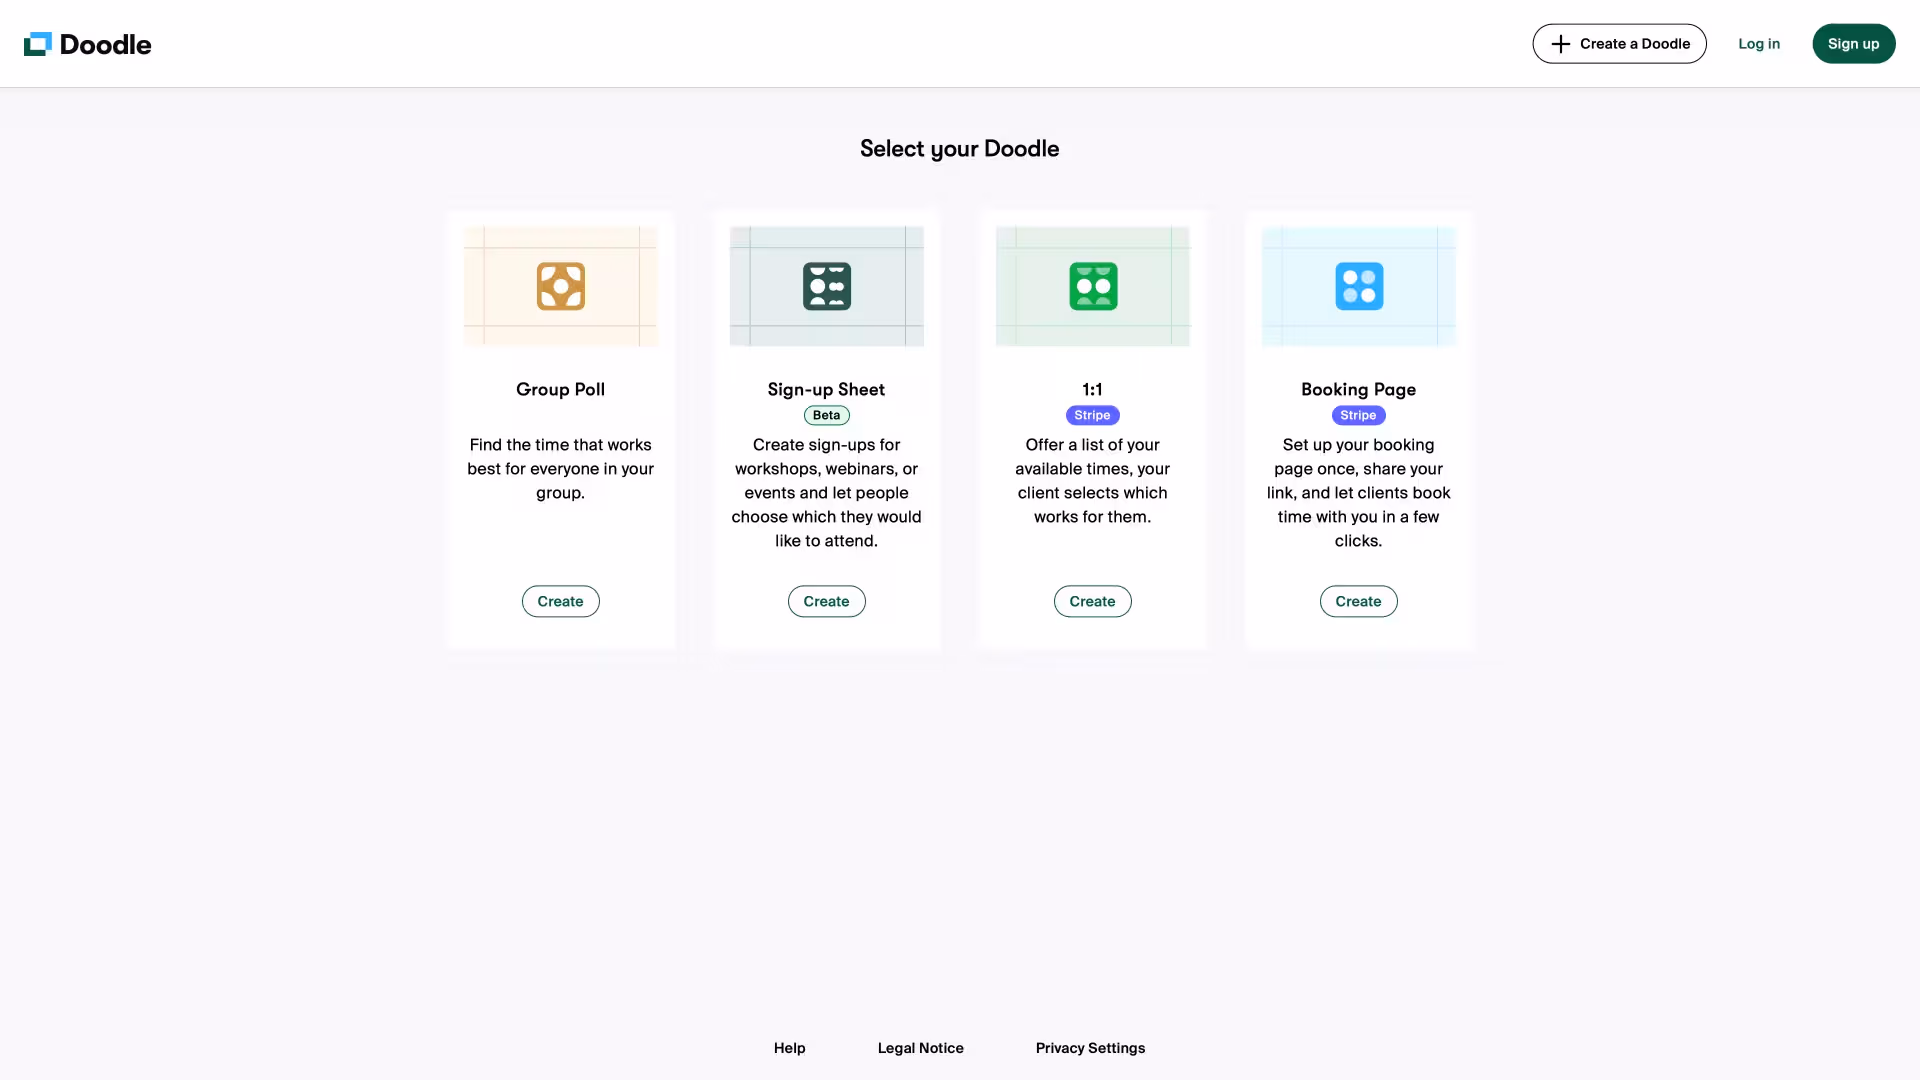
Since we want to schedule a group meeting, choose the first type, “Group Poll”. After clicking the “Create” button, you’ll land on the page where you can set up your Doodle group poll.
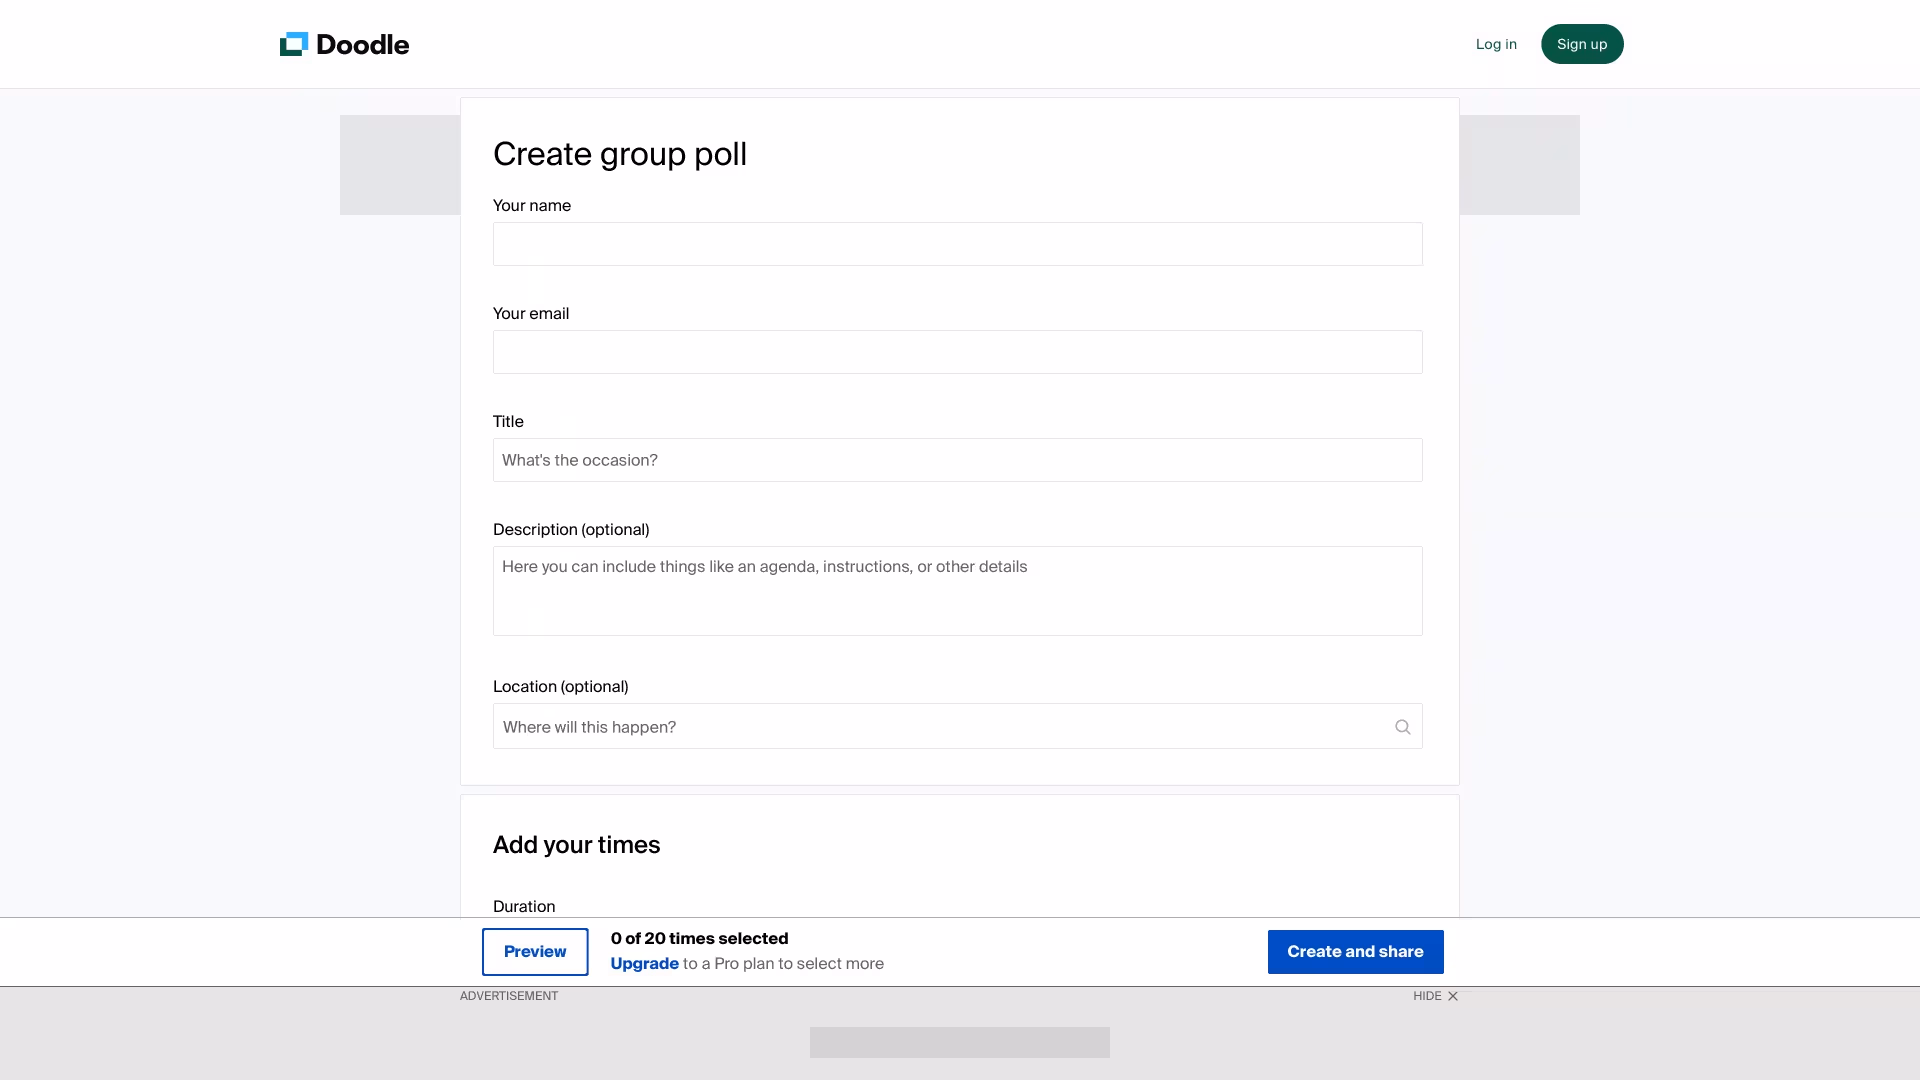
Create group poll
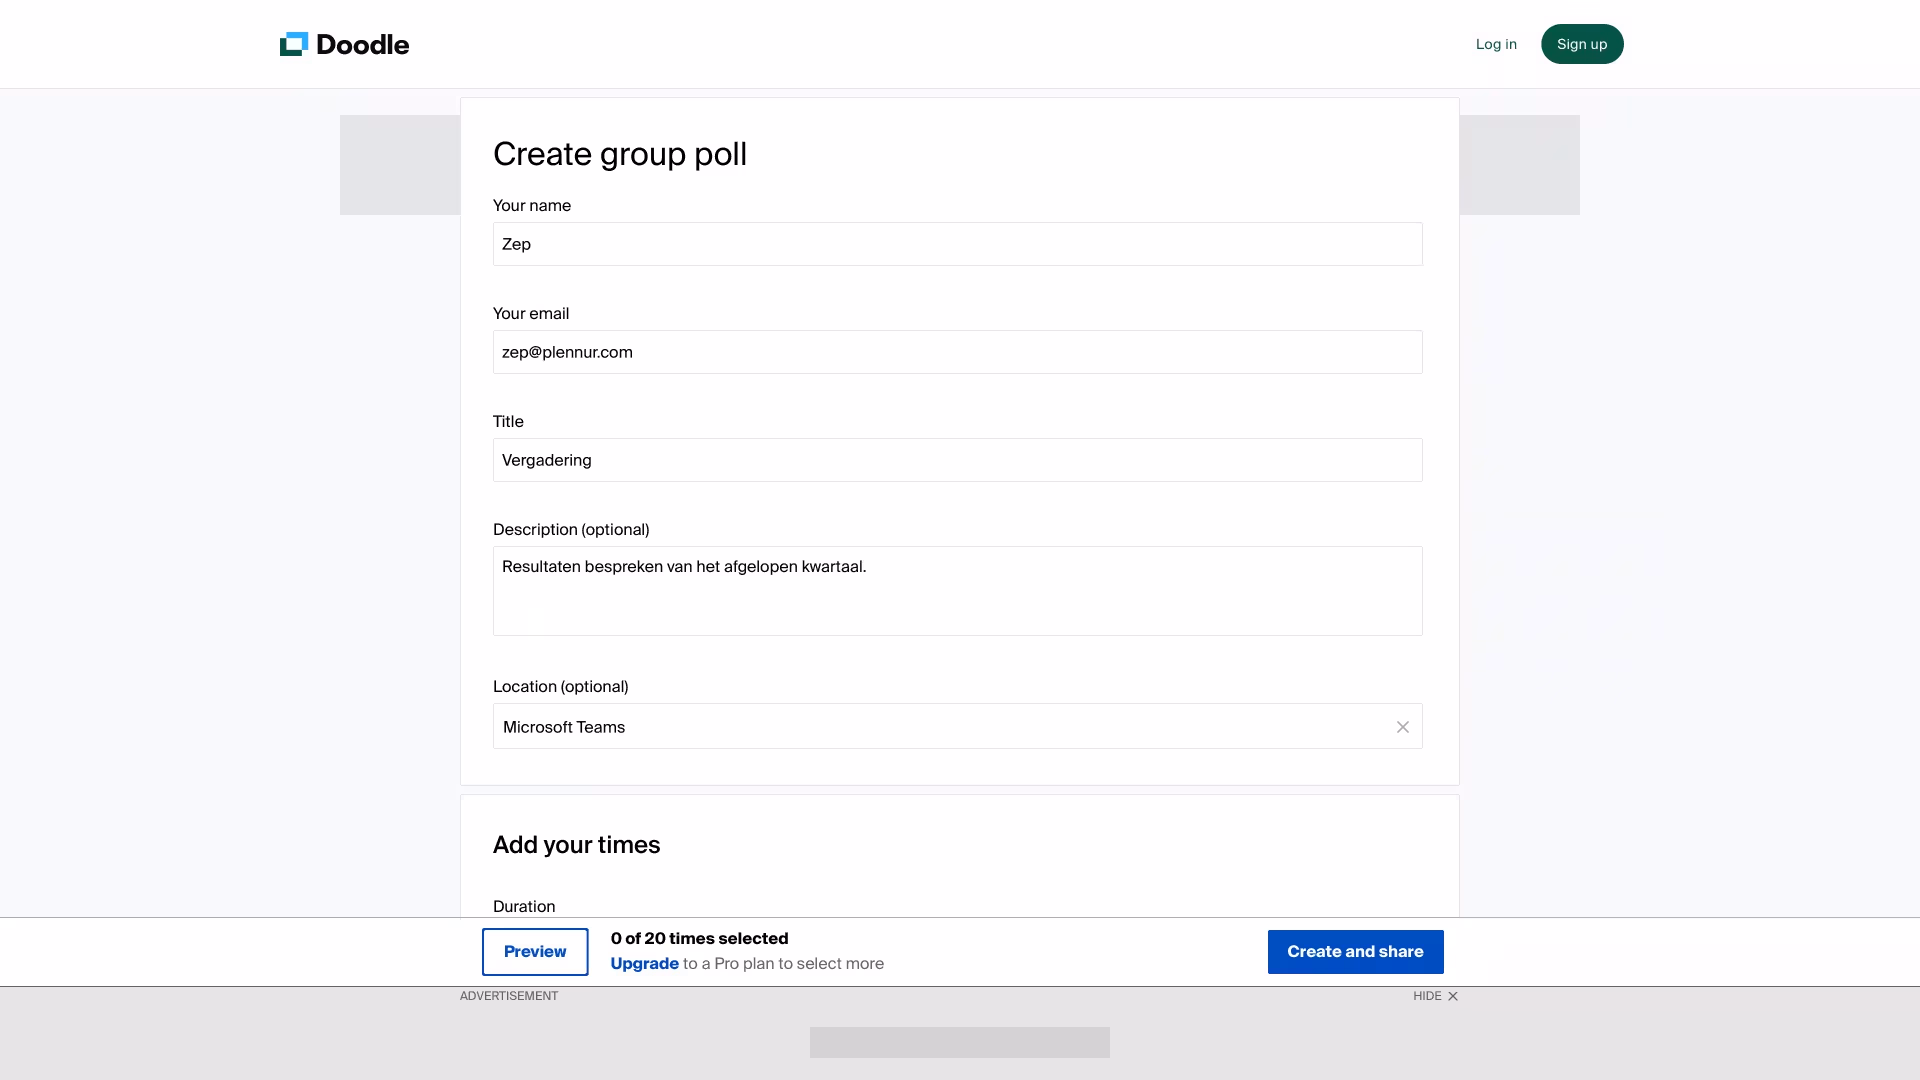
When creating the Doodle, start by entering the organizer’s name and email address in the “Your name” and “Your email” fields. Then choose a title for the appointment, such as “Meeting”, and enter it in the “Title” field. You can also add additional information in the “Description” field, such as the meeting agenda. Use “Location” to indicate where the appointment takes place—this can be a physical address or a link, such as to a Microsoft Teams meeting. Once these fields are completed, it should look like this.
Scrolling down, you’ll find the “Add your times” section, where you propose dates and times for the appointment. The times you select here are the options participants can choose from to indicate their availability.
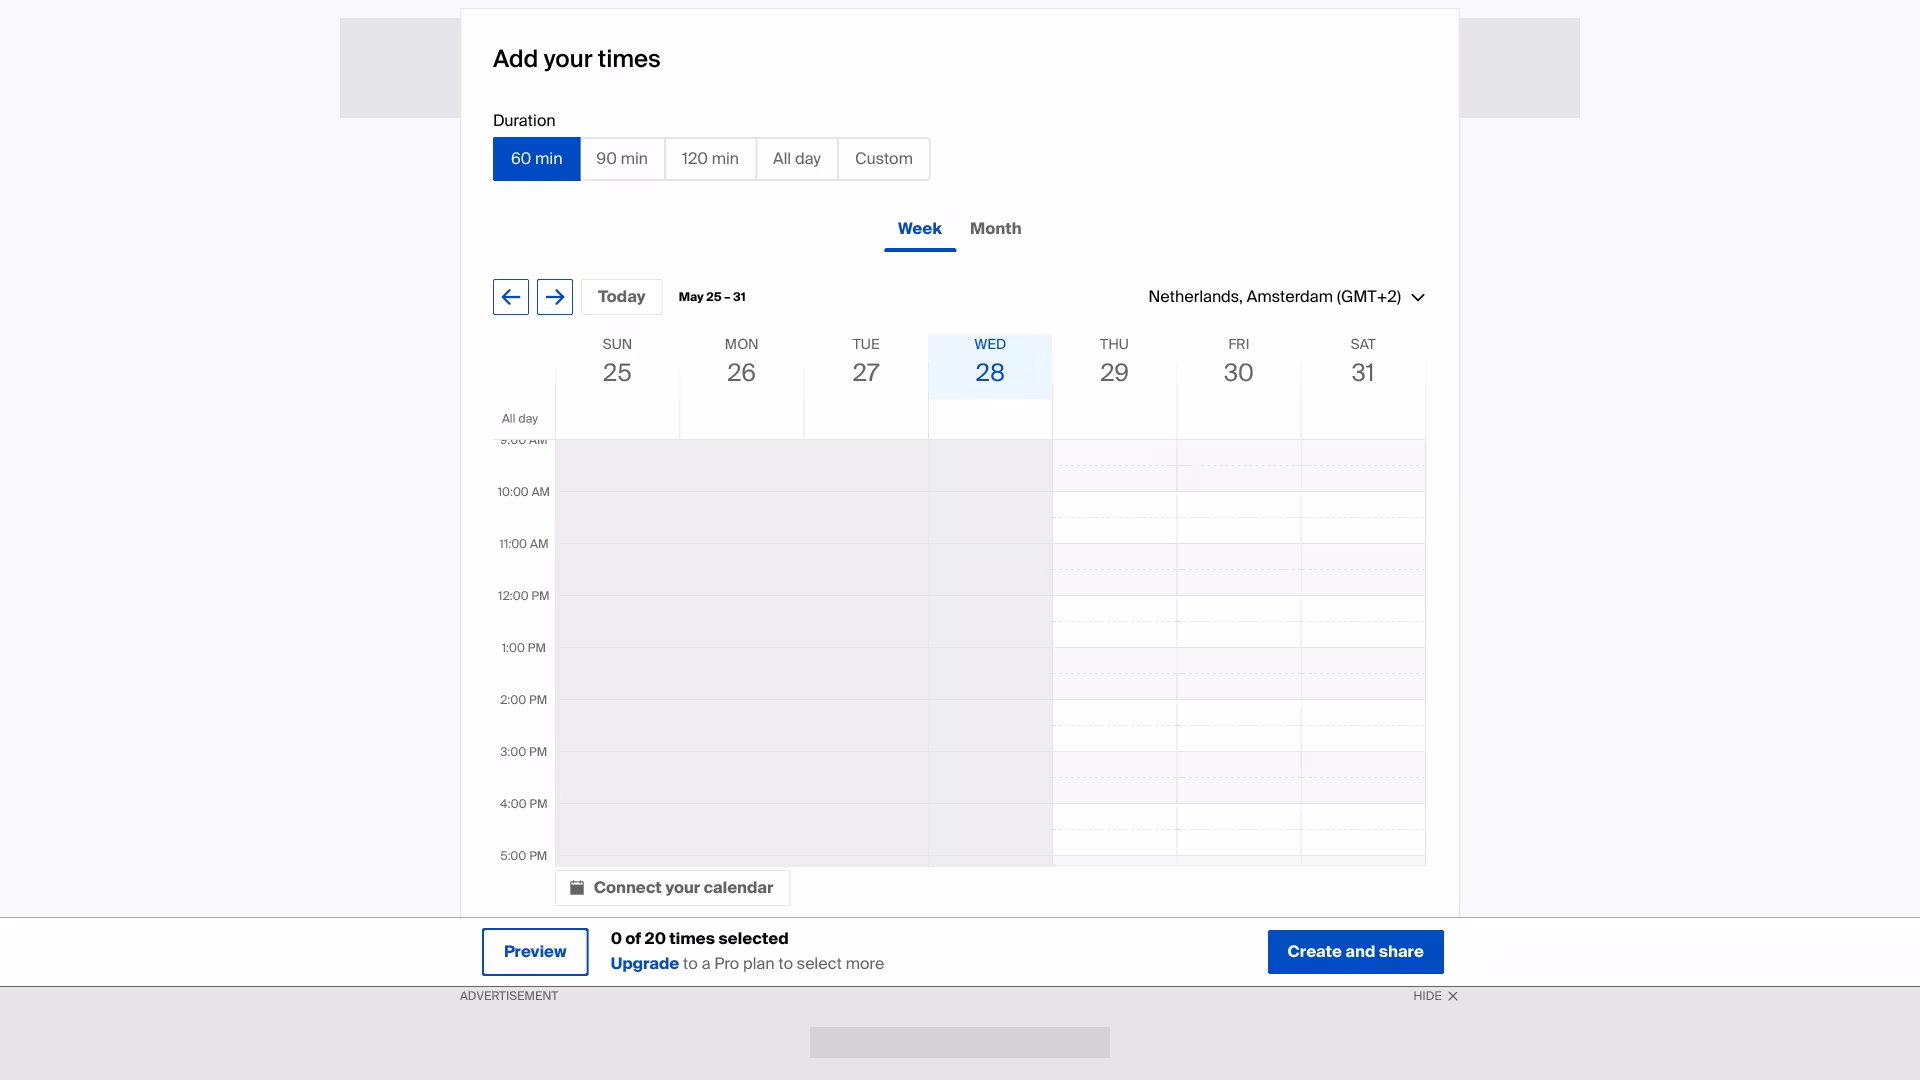
You can select dates and times in two ways. By default, the view is set to “Week”, but you can also select from a monthly calendar by clicking “Month”. Let’s look at both the week and month views.
In the week view, you can set the duration of the appointment at the top under “Duration”. You can choose 60, 90, or 120 minutes, or “All day”. You can also choose “Custom” to set your own duration. The default is one hour (60 minutes). Click on a day and time to add a proposed time. A block appears showing the start and end time based on the duration you selected. Repeat this for all the dates and times you want to offer.
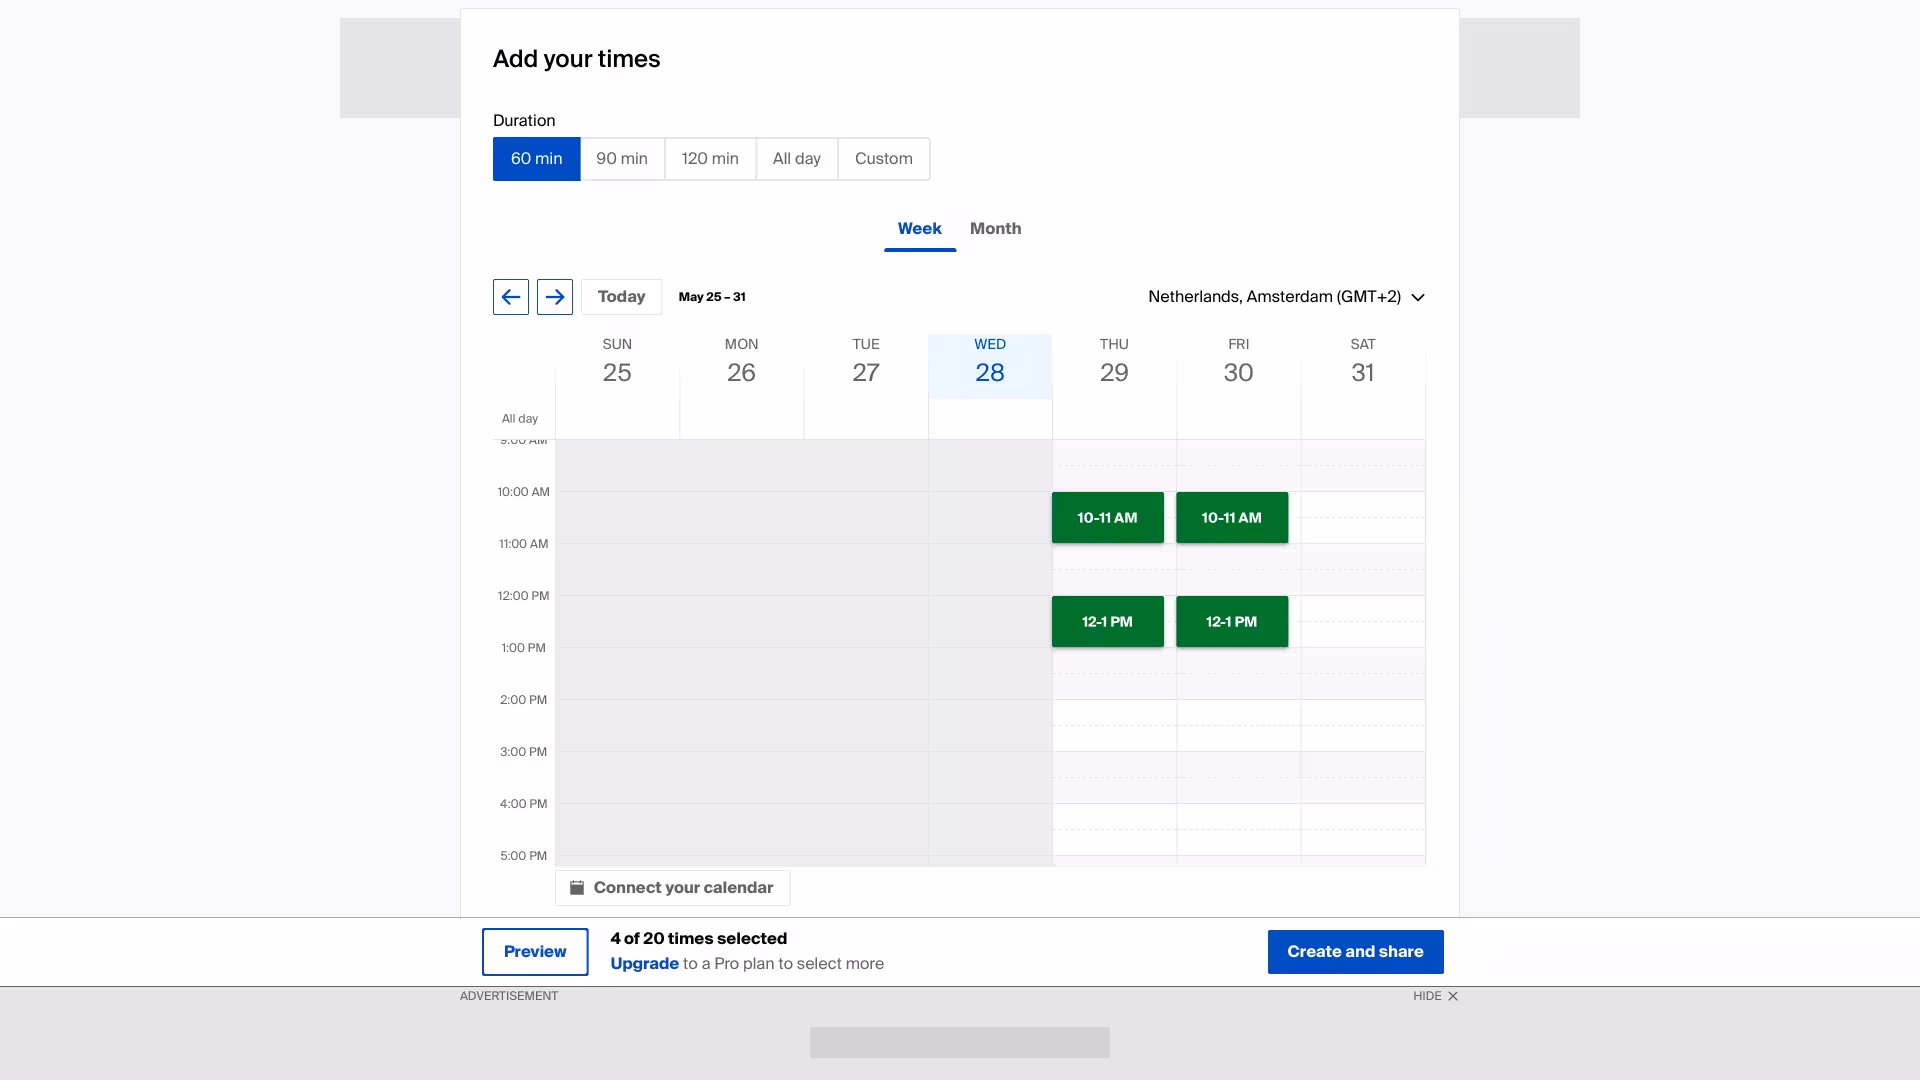
To adjust a time, simply drag the block to a different slot. If you added a time by mistake and want to remove it, hover over the block and click the small X in the top-right corner.
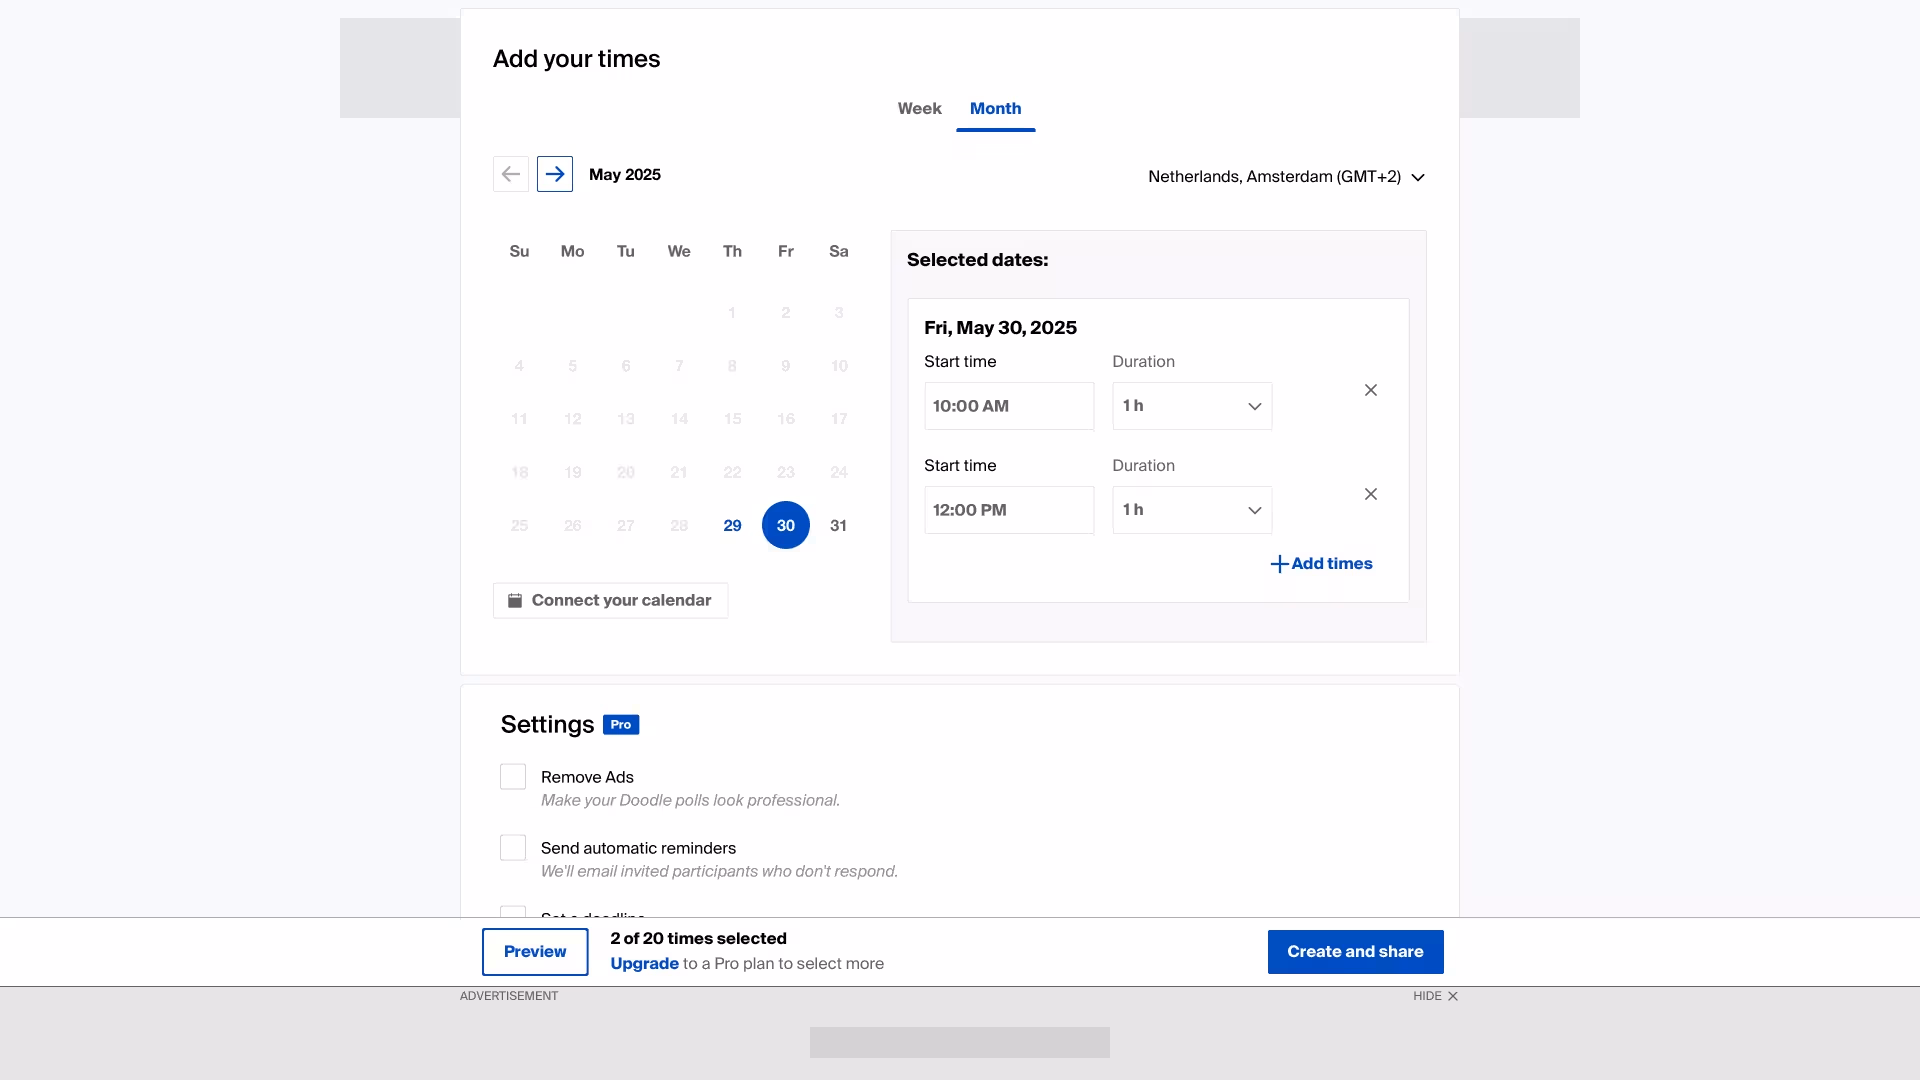
If you want to suggest dates that span multiple weeks, the month view is more practical. Click “Month” above the calendar. On the left, you’ll see a calendar where you can click on a date to add it. On the right, you can add specific times for that day by entering a start time under “Start time” and a duration under “Duration”. Below is an example of how this looks using the month view.
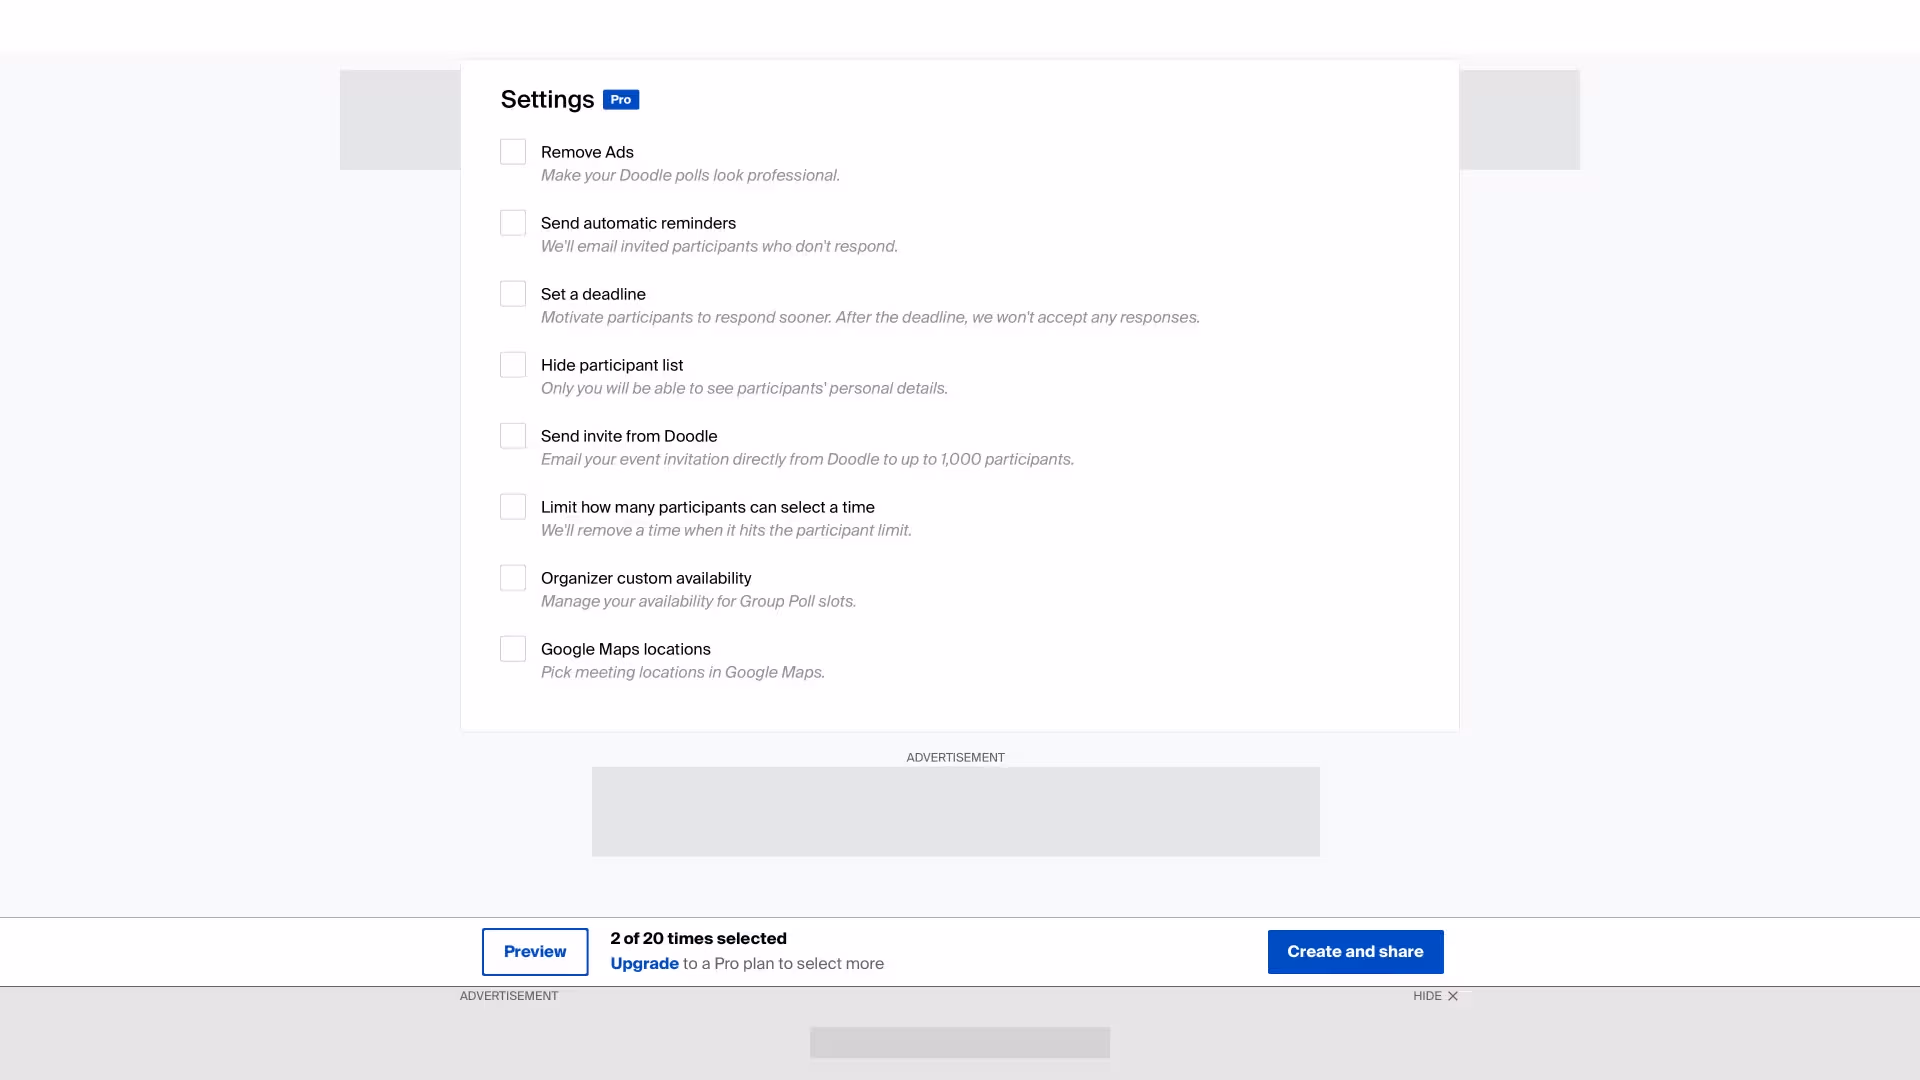
The final step on this page is “Settings”. These are additional features available with a paid Doodle subscription. They let you customize how your Doodle works. You don’t need them for basic scheduling, but here’s what they offer:
- Remove Ads: Hide ads so you and your participants don’t see them and your appointment appears more professional.
- Send automatic reminders: Automatically email reminders to participants who haven’t responded.
- Set a deadline: Set a deadline after which participants can no longer respond, encouraging timely replies.
- Hide participant list: Hide participant data so only you can see it.
- Send invite from Doodle: Email your invitation directly from Doodle to up to 1000 participants.
- Limit how many participants can select a time: Remove a time slot once a set number of people have selected it.
- Organizer custom availability: Set your own availability for the proposed times.
- Google Maps locations: Choose a meeting location via Google Maps.
Once everything is filled in and you’re satisfied, click the “Create and share” button at the bottom right to create your Doodle group poll.
Invite participants
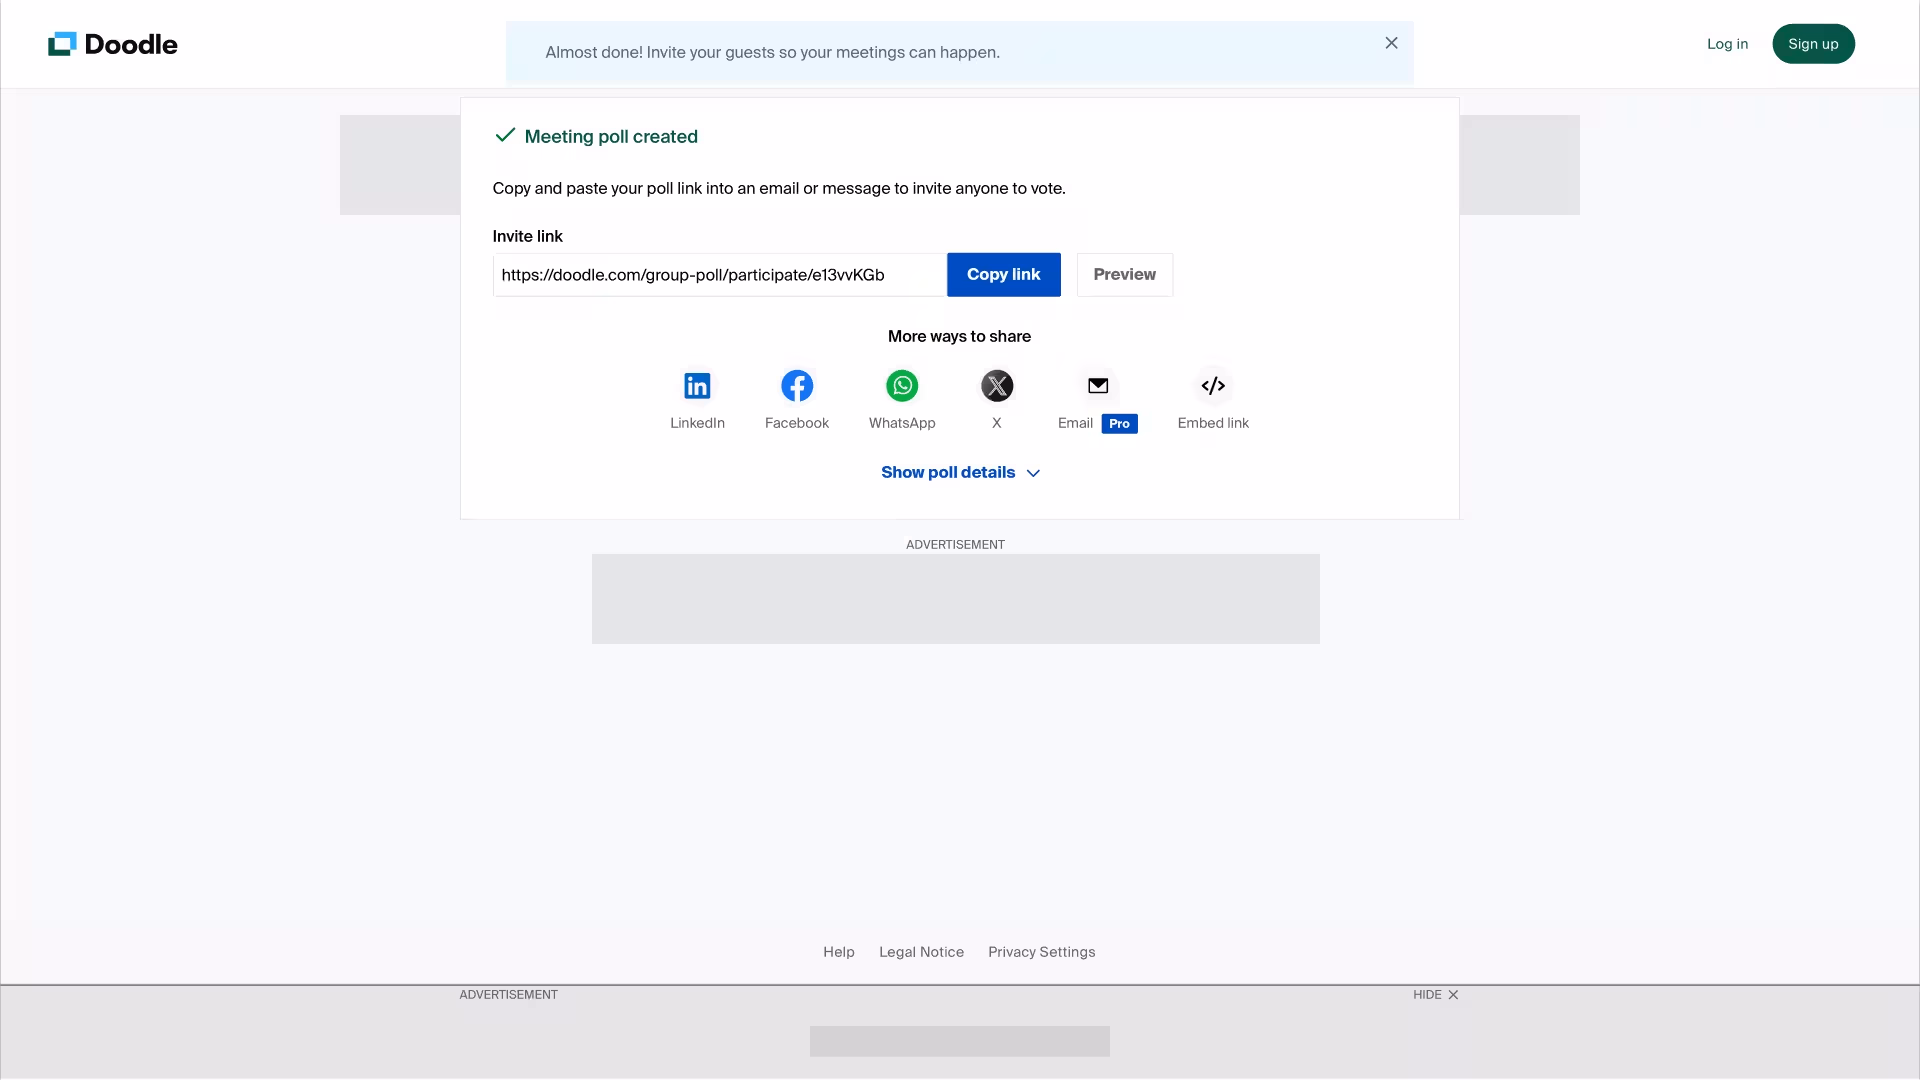
After creating the Doodle, you’ll land on a page where you can share the link to your group poll to invite participants. Click the “Copy link” button and paste it into your group chat or email to the participants.
You can also share the link directly from Doodle via platforms like LinkedIn, Facebook, WhatsApp, or X (formerly Twitter) by clicking the icon under “More ways to share”.
If you have a paid Doodle plan, you can send invitations via email directly from Doodle using the “Email (Pro)” button. Since we’ve created a free Doodle, we’ll just copy the link and share it manually.
Receive availability
Now that participants have the Doodle link, they can indicate their availability. When a participant opens the link, they’ll see the organizer’s name and the meeting title.
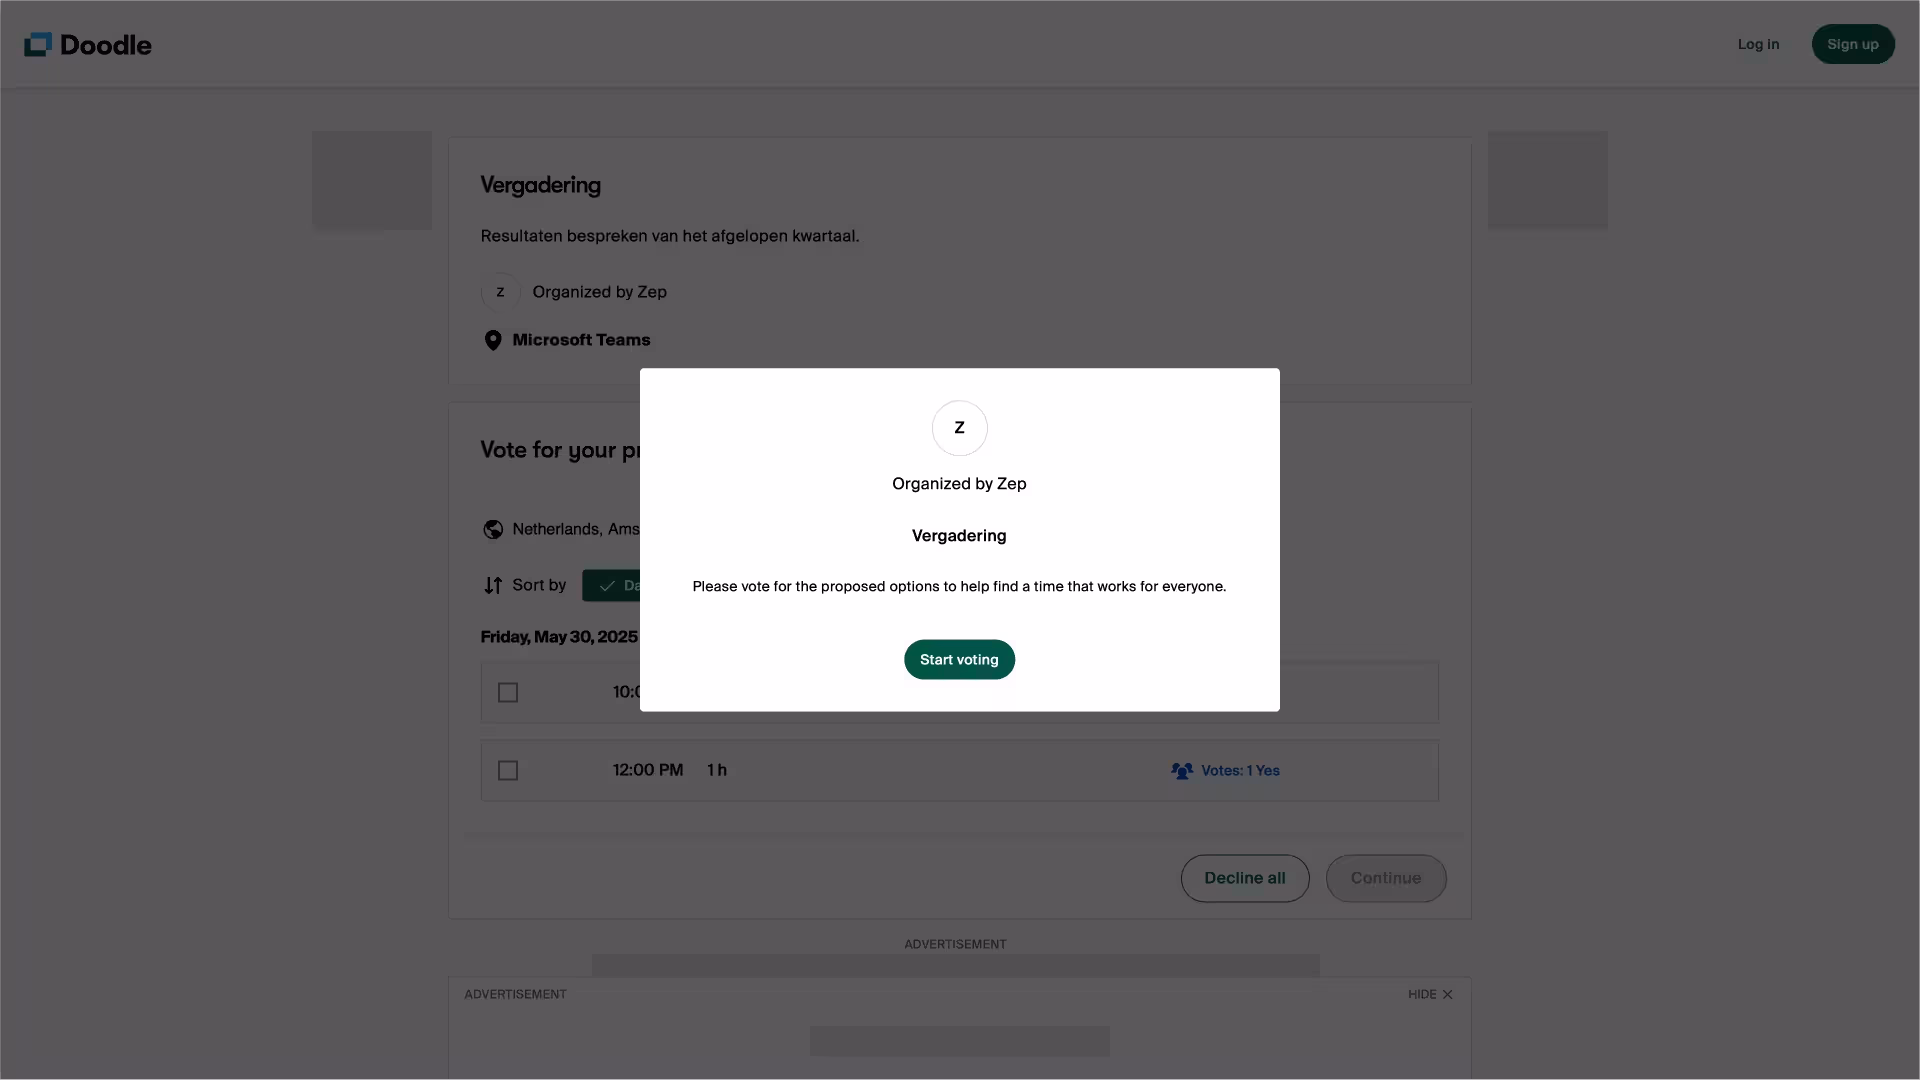
To start voting, they click the “Start voting” button. This shows the list of proposed times under “Vote for your preferred times”.
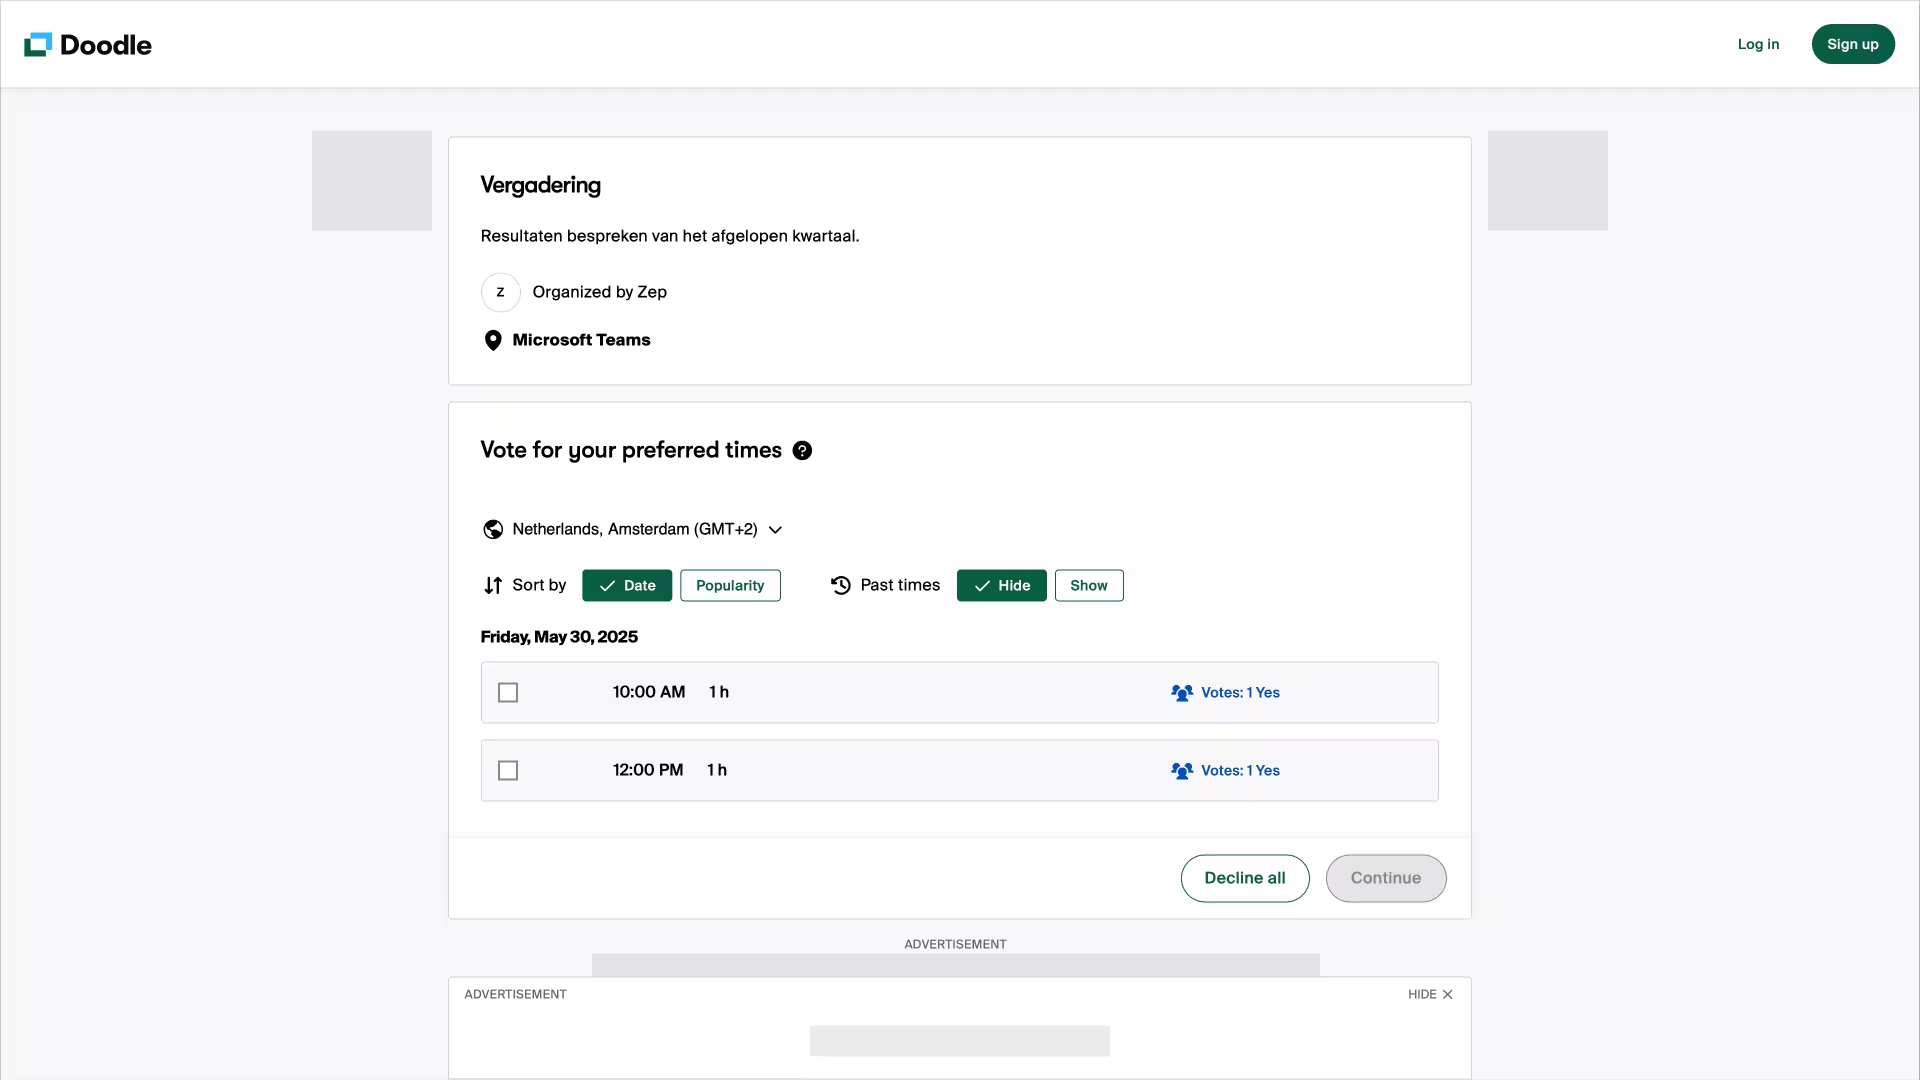
To indicate availability for a time slot, click once for “Yes”. Click again to mark “If need be”, indicated by a yellow checkmark in parentheses. If unavailable, click until the box is empty again. Below is an example with a “Yes” and a “Maybe”.
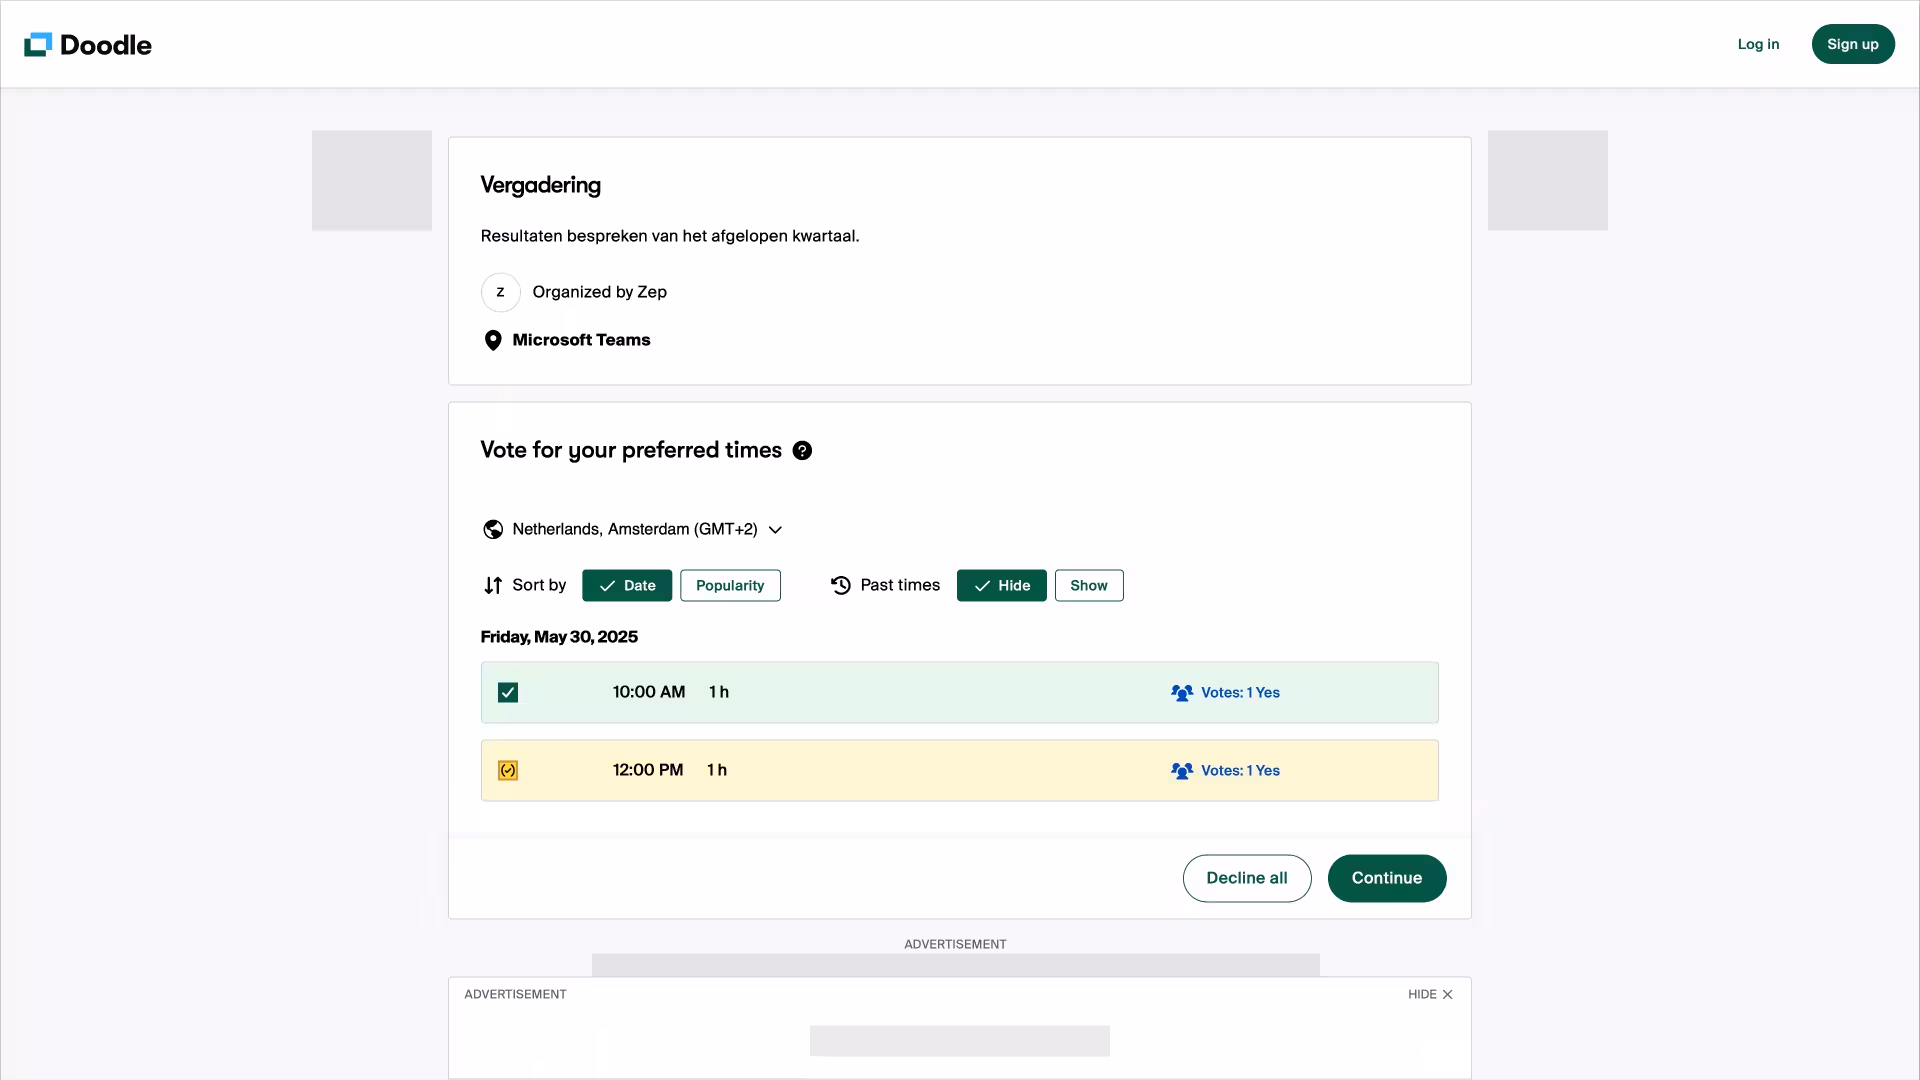
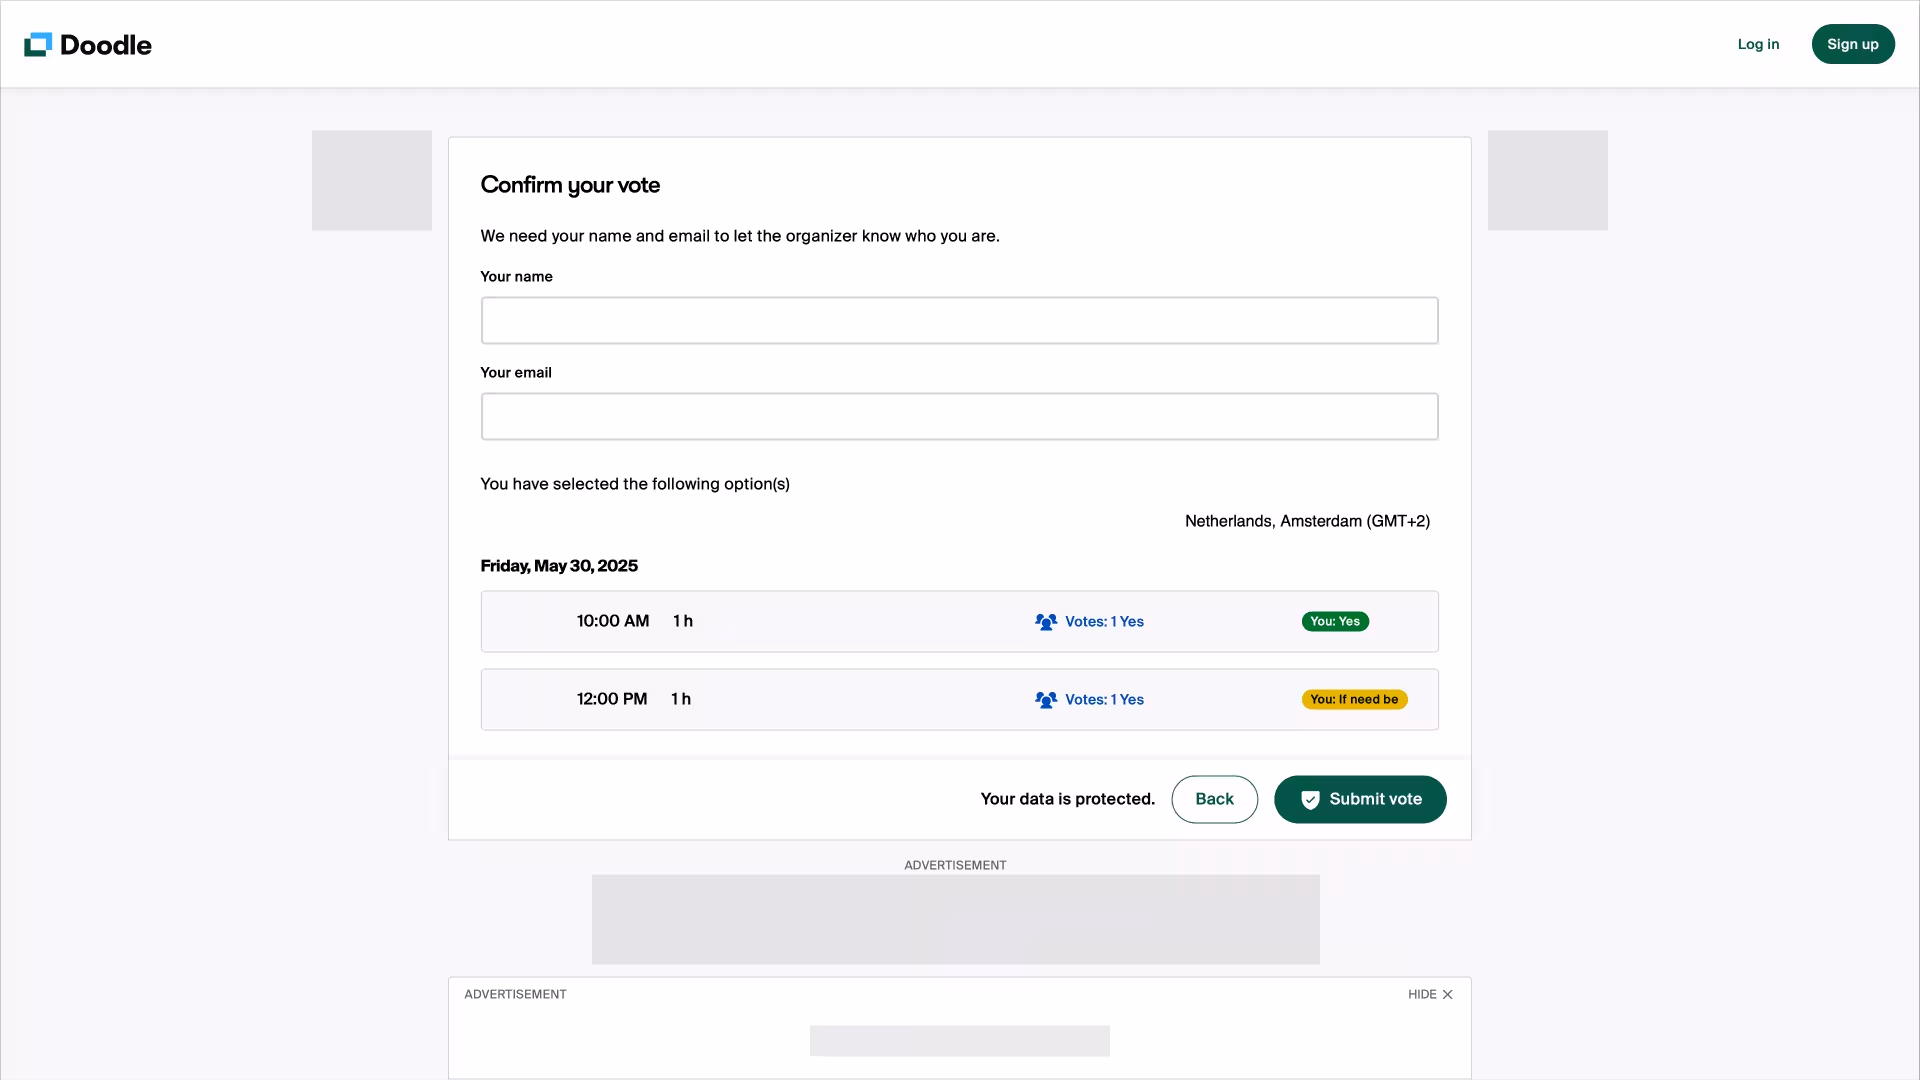
After selecting availability for all proposed times, click “Continue”. On the next screen, fill in your name and email under “Your name” and “Your email”. Then click “Submit vote” to save your availability.
Finalize group poll
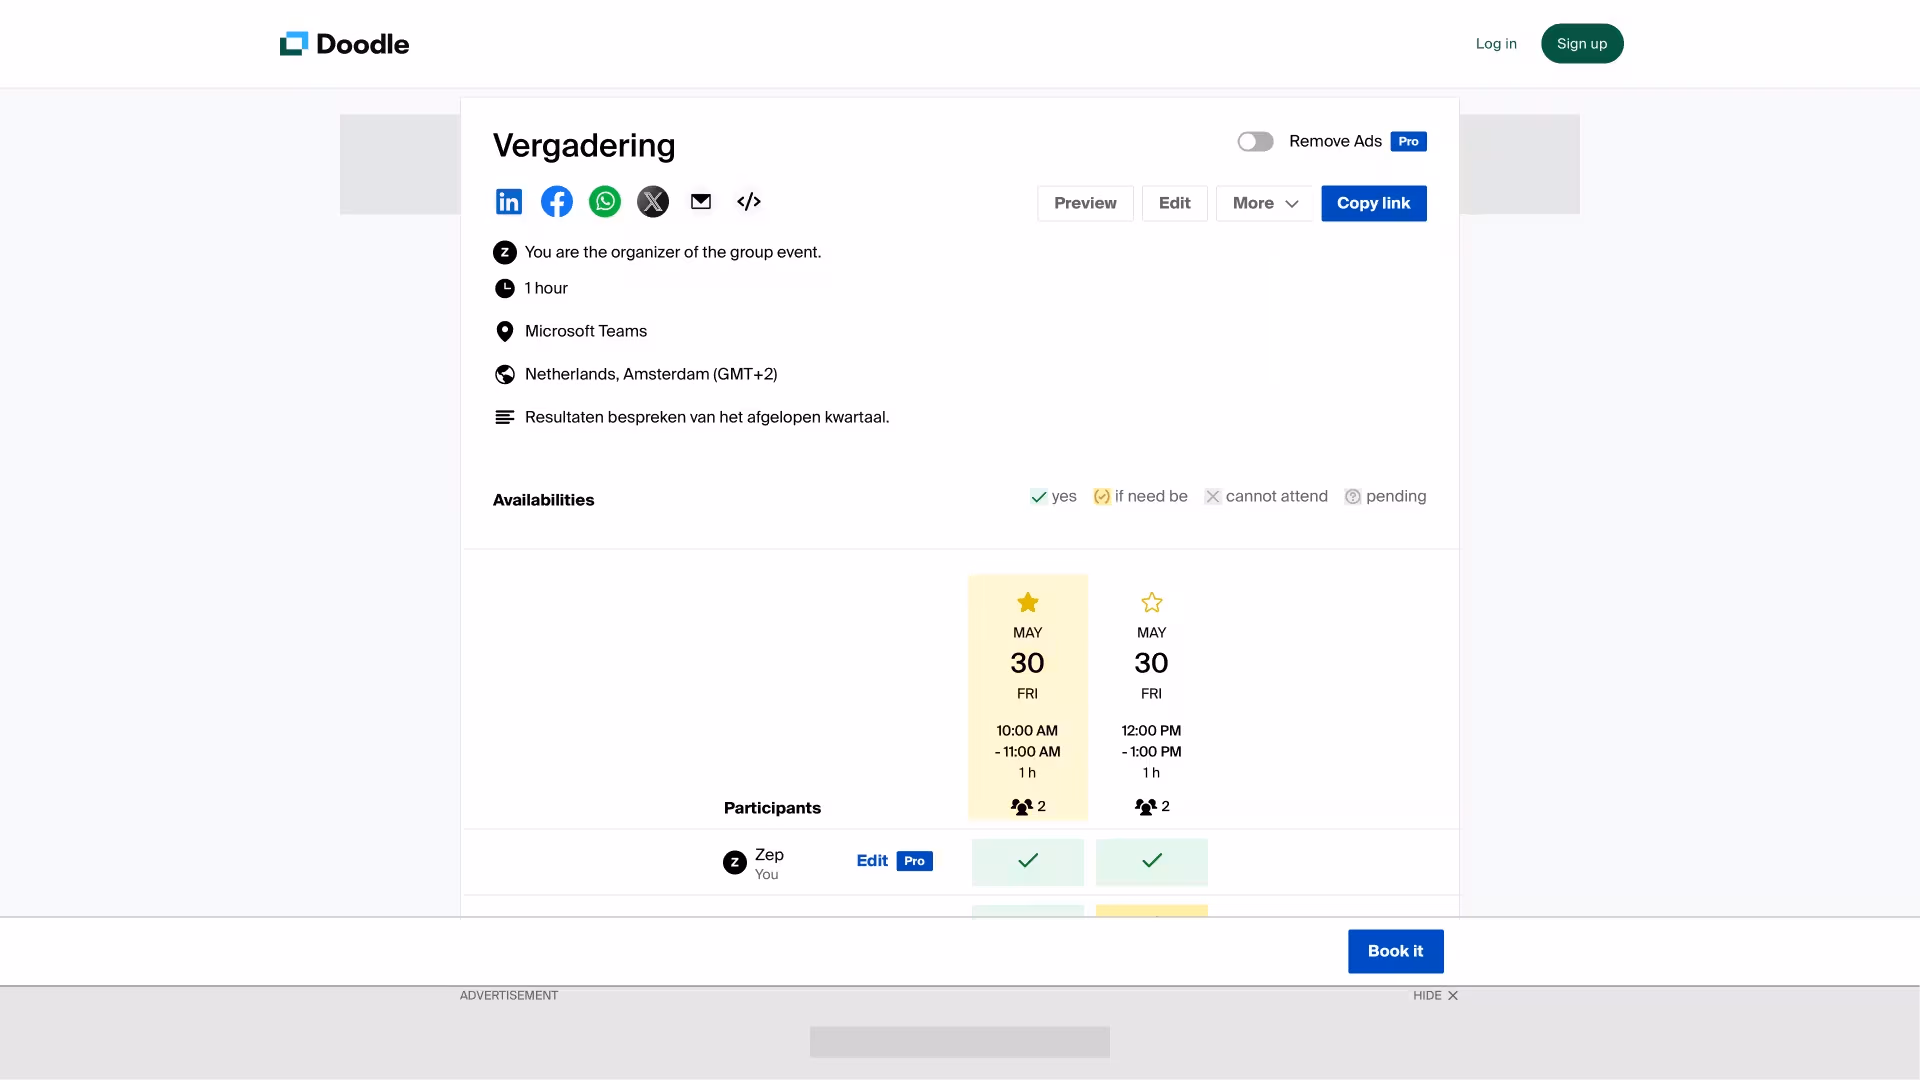
Once all participants have entered their availability, you as the organizer can finalize the poll. Do this by selecting the final date on the Doodle page and clicking the “Book it” button.
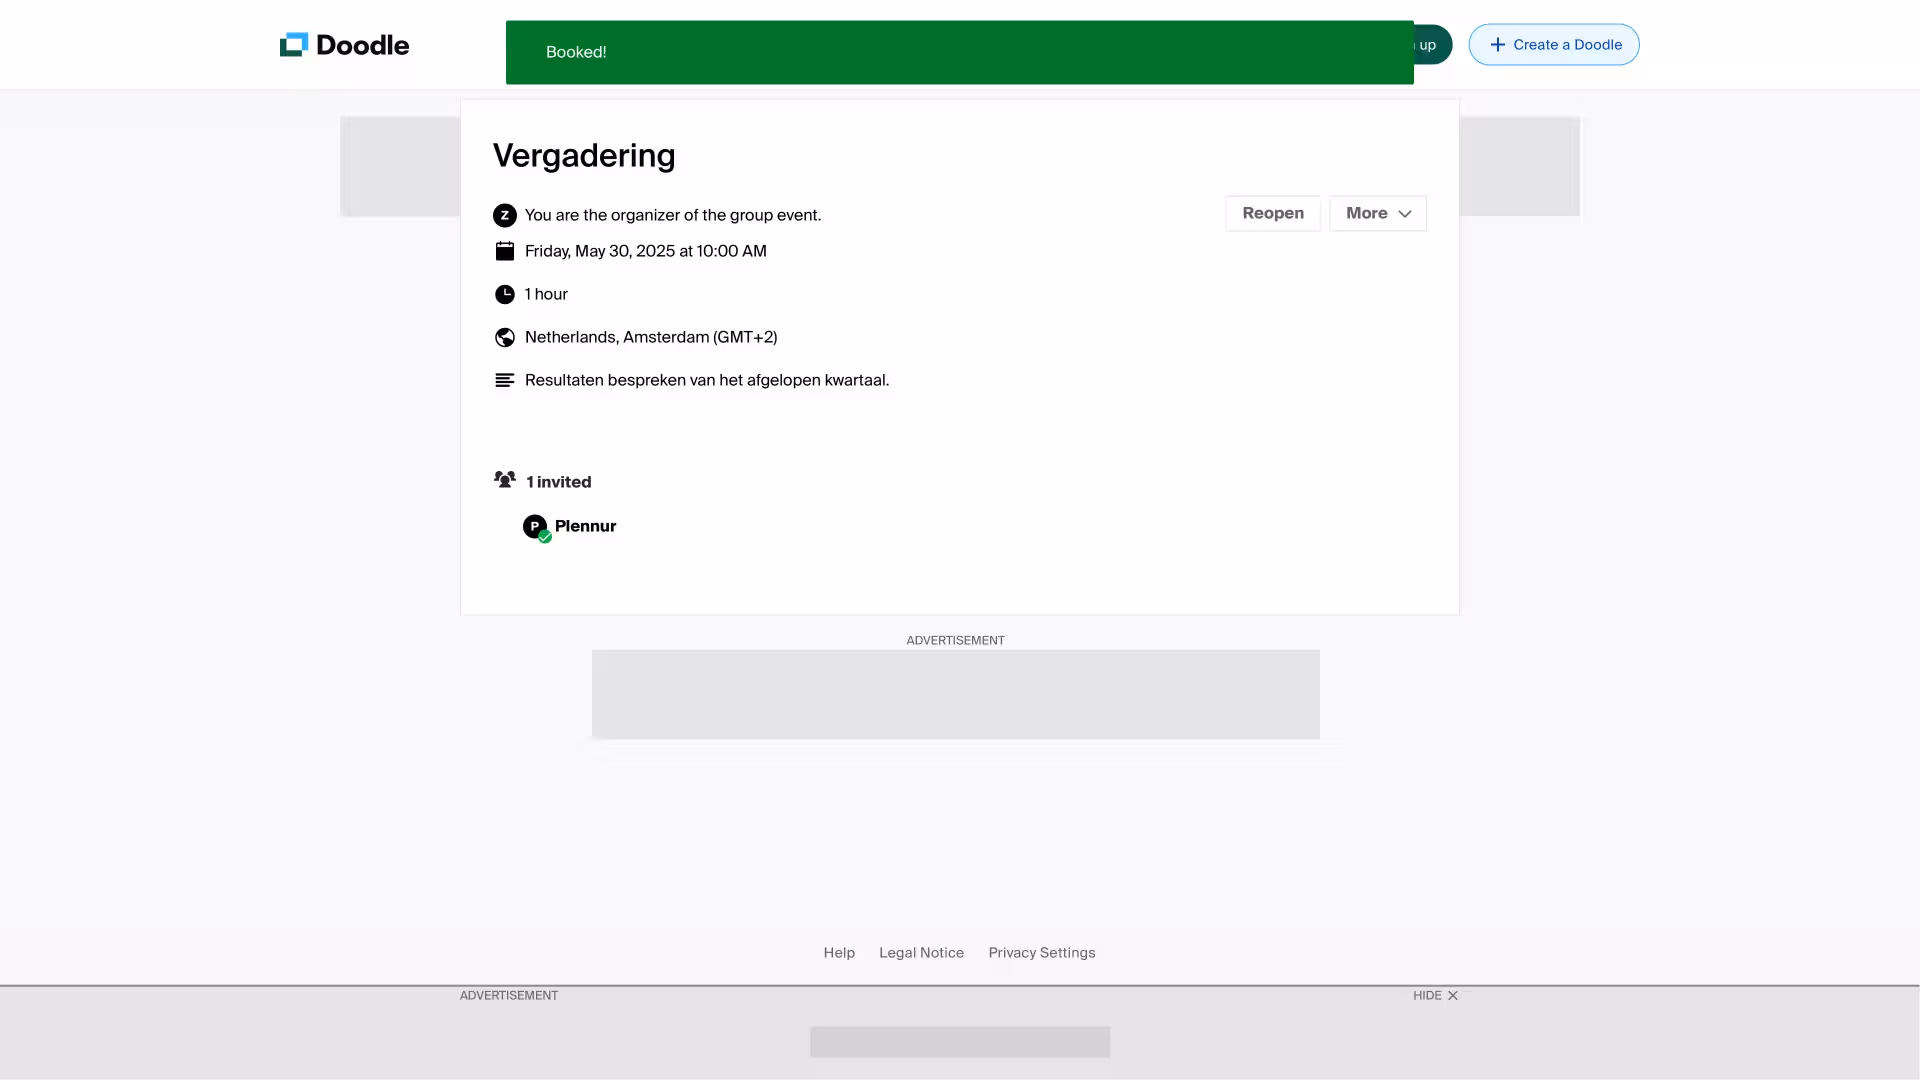
You’ll now see a confirmation that the Doodle poll has been finalized. Everyone can now prepare for the meeting. Congratulations, you now know how to create a Doodle to schedule an appointment!
Create a Doodle without ads?
Although Doodle makes it easy to schedule group appointments, it unfortunately shows a lot of ads to both organizers and participants. Ads are annoying while creating a Doodle and make you appear unprofessional to your invitees. Want to create a free Doodle without ads? Try the Doodle alternative Plennur.